[CSS] 페이지 꾸미기 (feat. 부트스트랩)
아래와 같이 부트스트랩(01_bootstrap.html)을 이용하여 간단하게 페이지를 만드는 방법을 정리했다.
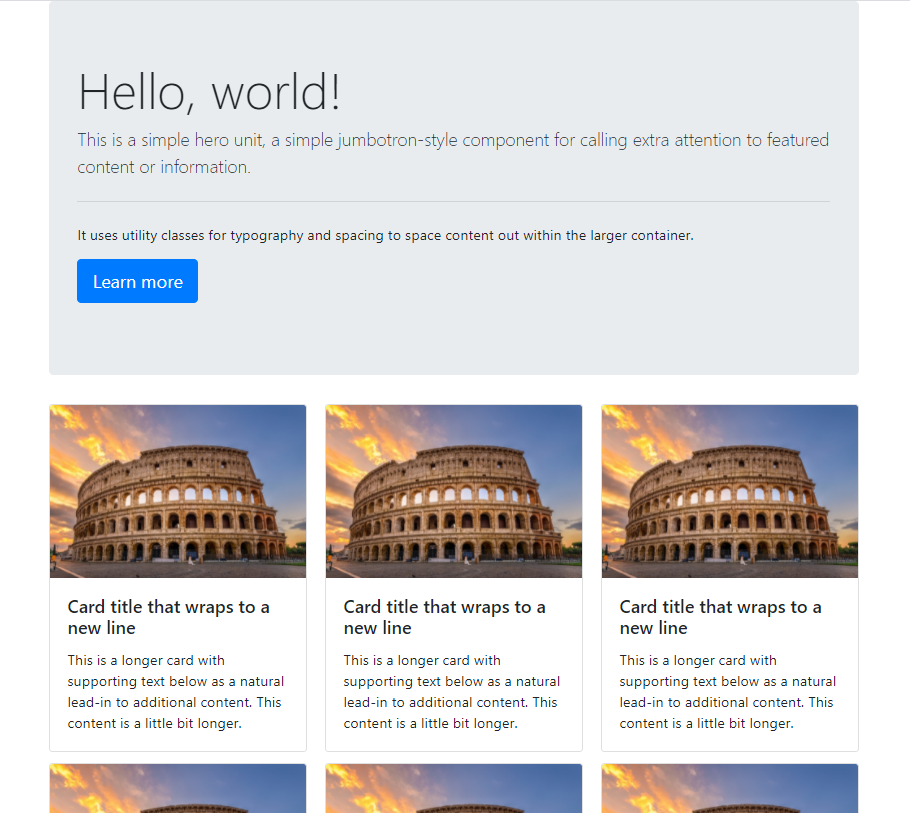
부트스트랩 사이트 접속 - Menu - Jumbotron - 디자인 select - code 복사 - <body>코드 입력

<div class="wrap">
<div class="jumbotron">
<h1 class="display-4">Hello, world!</h1>
<p class="lead">This is a simple hero unit, a simple jumbotron-style component for calling extra attention to
featured content or information.</p>
<hr class="my-4">
<p>It uses utility classes for typography and spacing to space content out within the larger container.</p>
<p class="lead">
<a class="btn btn-primary btn-lg" href="#" role="button">Learn more</a>
</p>
</div>
하단부에 추가적으로 들어갈 사진과 내용들도 비슷하게 진행해준다.
Menu - card - 디자인 select - code 복사 - <body> 코드 입력
<div class="card">
<img class="card-img-top" src="https://image.theminda.com/data/tg/image/tour/middle/201905/c8aee858ed6e8c34010fe3c4ae9be8a5.jpg" alt="Card image cap">
<div class="card-body">
<h5 class="card-title">Card title that wraps to a new line</h5>
<p class="card-text">This is a longer card with supporting text below as a natural lead-in to additional
content. This content is a little bit longer.</p>
</div>
</div>
src는 이미지를 넣는 태그이며 보통 "..." 되어 있다. 구글이나 네이버에서 원하는 이미지 링크를 찾아서 "..." 사이에 입력해 주면 이미지를 끌어와서 표시해준다.
부트스트랩에서 copy한 card code는 1개의 div이기 때문에 여러 card를 표시하려면 아래와 같이 div를 복사-붙여넣기 하면 된다.

